How to Make a Goji Berry Propagation Burrito

Propagating plants is one of the most rewarding and cost-effective ways to expand your garden. Rather than purchasing new plants each season, propagation allows you to grow fresh starts directly from the ones you already have. It’s an approach gardeners have used for centuries to multiply healthy, productive plants while maintaining traits they love — whether it’s the flavor of a favorite berry, the resilience of a native shrub, or the fragrance of a perennial herb.
Beyond saving money, propagation gives you control over the plants you grow. Each cutting or division is essentially a clone of the parent plant, carrying its exact genetics, so you know precisely what to expect as it matures. This is especially valuable for plants that perform well in your specific environment, ensuring that their adaptability and productivity continue in your garden year after year.
There are many ways to propagate — from seed starting and stem cuttings to layering and division — each method suited to different plant types. In our garden, we’ve been experimenting with a particularly efficient technique for propagating multiple cuttings at once, known as the propagation burrito. It’s simple, affordable, and ideal for anyone wanting to root several plants in a small space.
About Goji Berries
The goji berry (Lycium barbarum), also known as the wolfberry, is a hardy perennial shrub celebrated for its resilience, beauty, and remarkable nutritional value. Native to Asia but surprisingly adaptable to North American climates, this plant can grow up to ten feet tall under the right conditions, producing delicate purple flowers that give way to clusters of bright orange-red berries. Long prized in traditional Chinese medicine, goji berries are considered a “superfruit” — rich in antioxidants, vitamin C, beta-carotene, and essential amino acids that support immune health and overall vitality.
The flavor of fresh goji berries is often described as a cross between a sweet tomato and a tart cranberry, while dried berries take on a chewy, raisin-like texture that works well in teas, smoothies, and baking. Beyond their health benefits, goji berry plants are striking additions to any landscape, offering beauty, function, and food all in one — a living reminder that the most extraordinary crops can thrive in unexpected places.
This was our first year growing goji berries, and we were surprised to have a great harvest of hundreds (if not thousands) of the little super-food sweet berries!
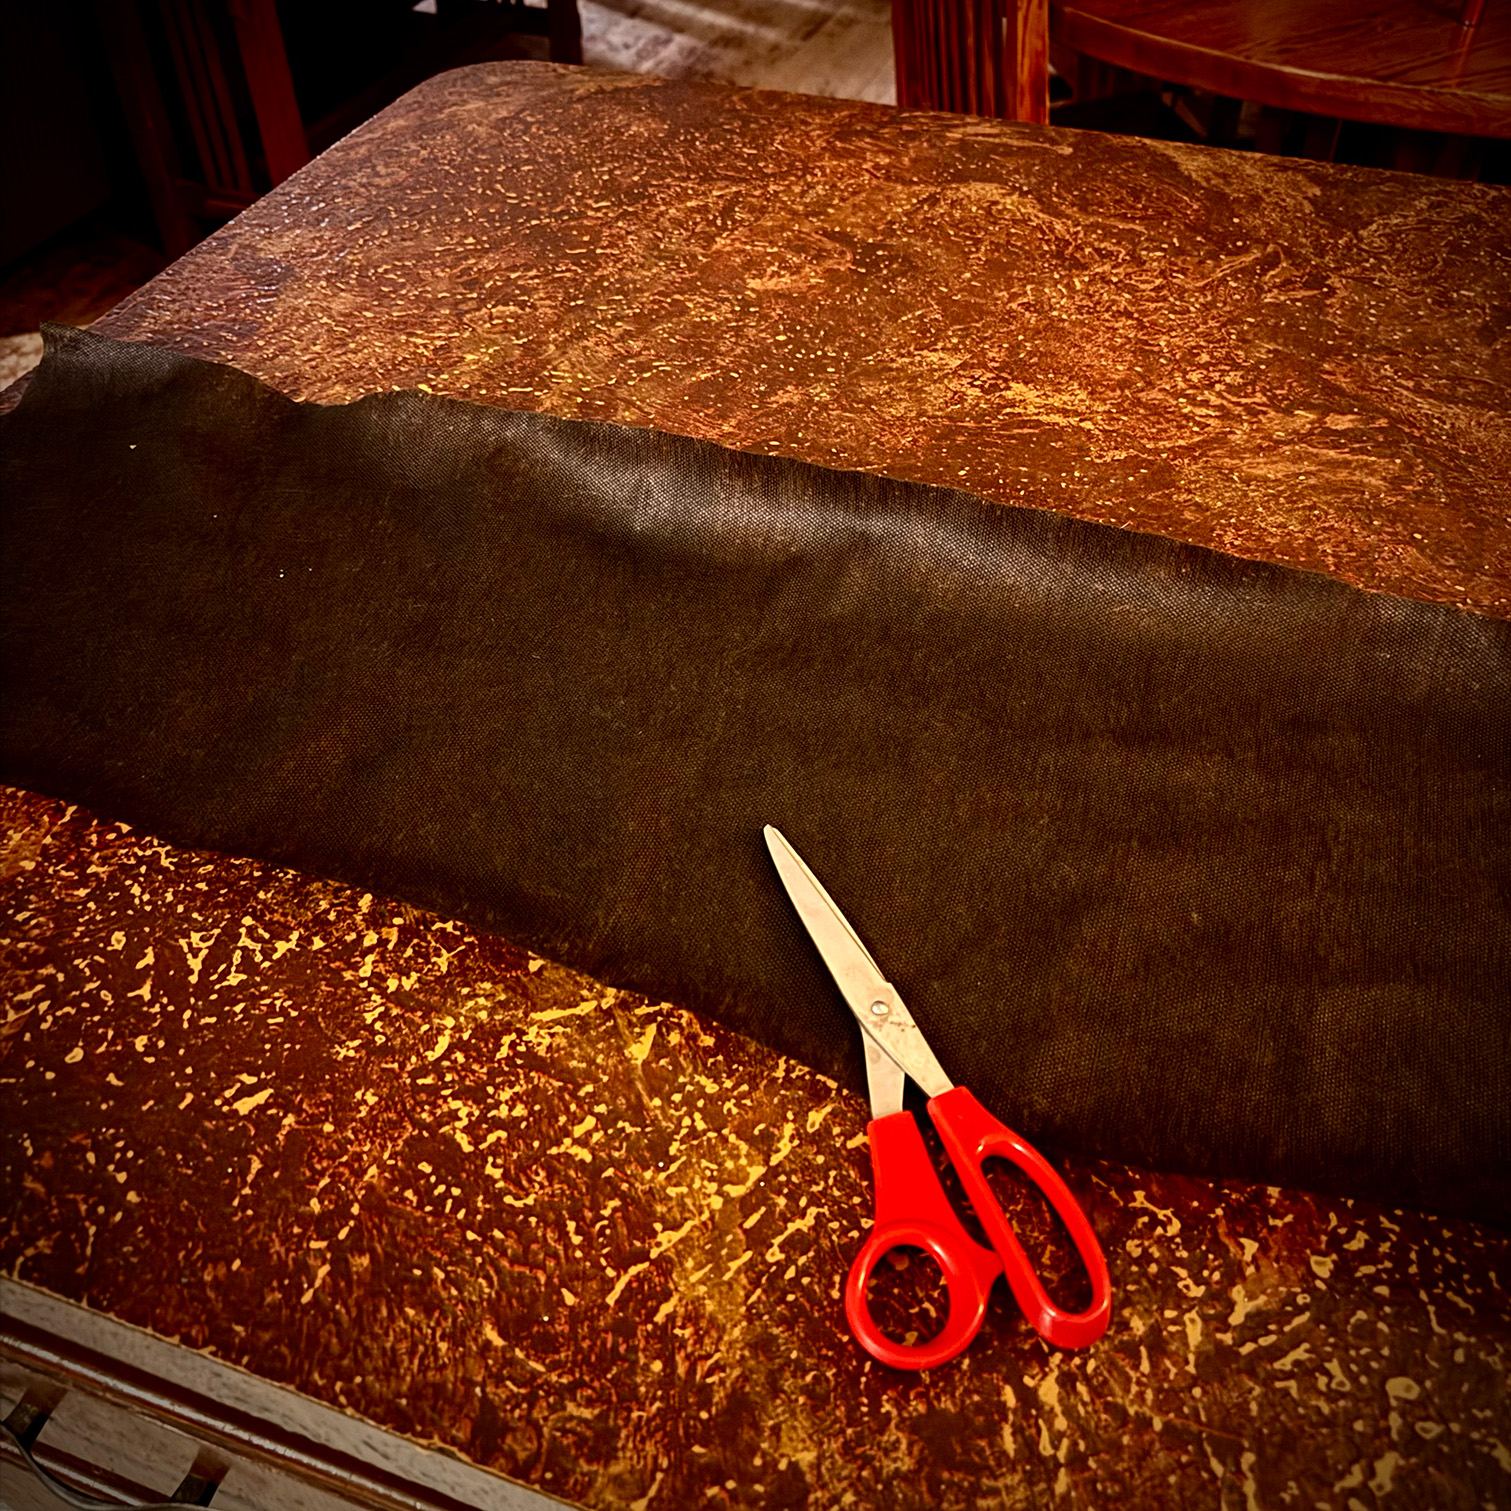
1) Prepare the Fabric “Wrapper”:
Start with a piece of landscape fabric about 36 inches wide and 12 inches deep. This will be your burrito tortilla “wrapper.”
I have heard of others doing the burrito method using plastic, but I believe that would retain too much moisture and could lead to problems like rotting, mold, etc.
The breathable landscape fabric should perform better and allow more air to get throughout.
2) Mix the Growing Medium:
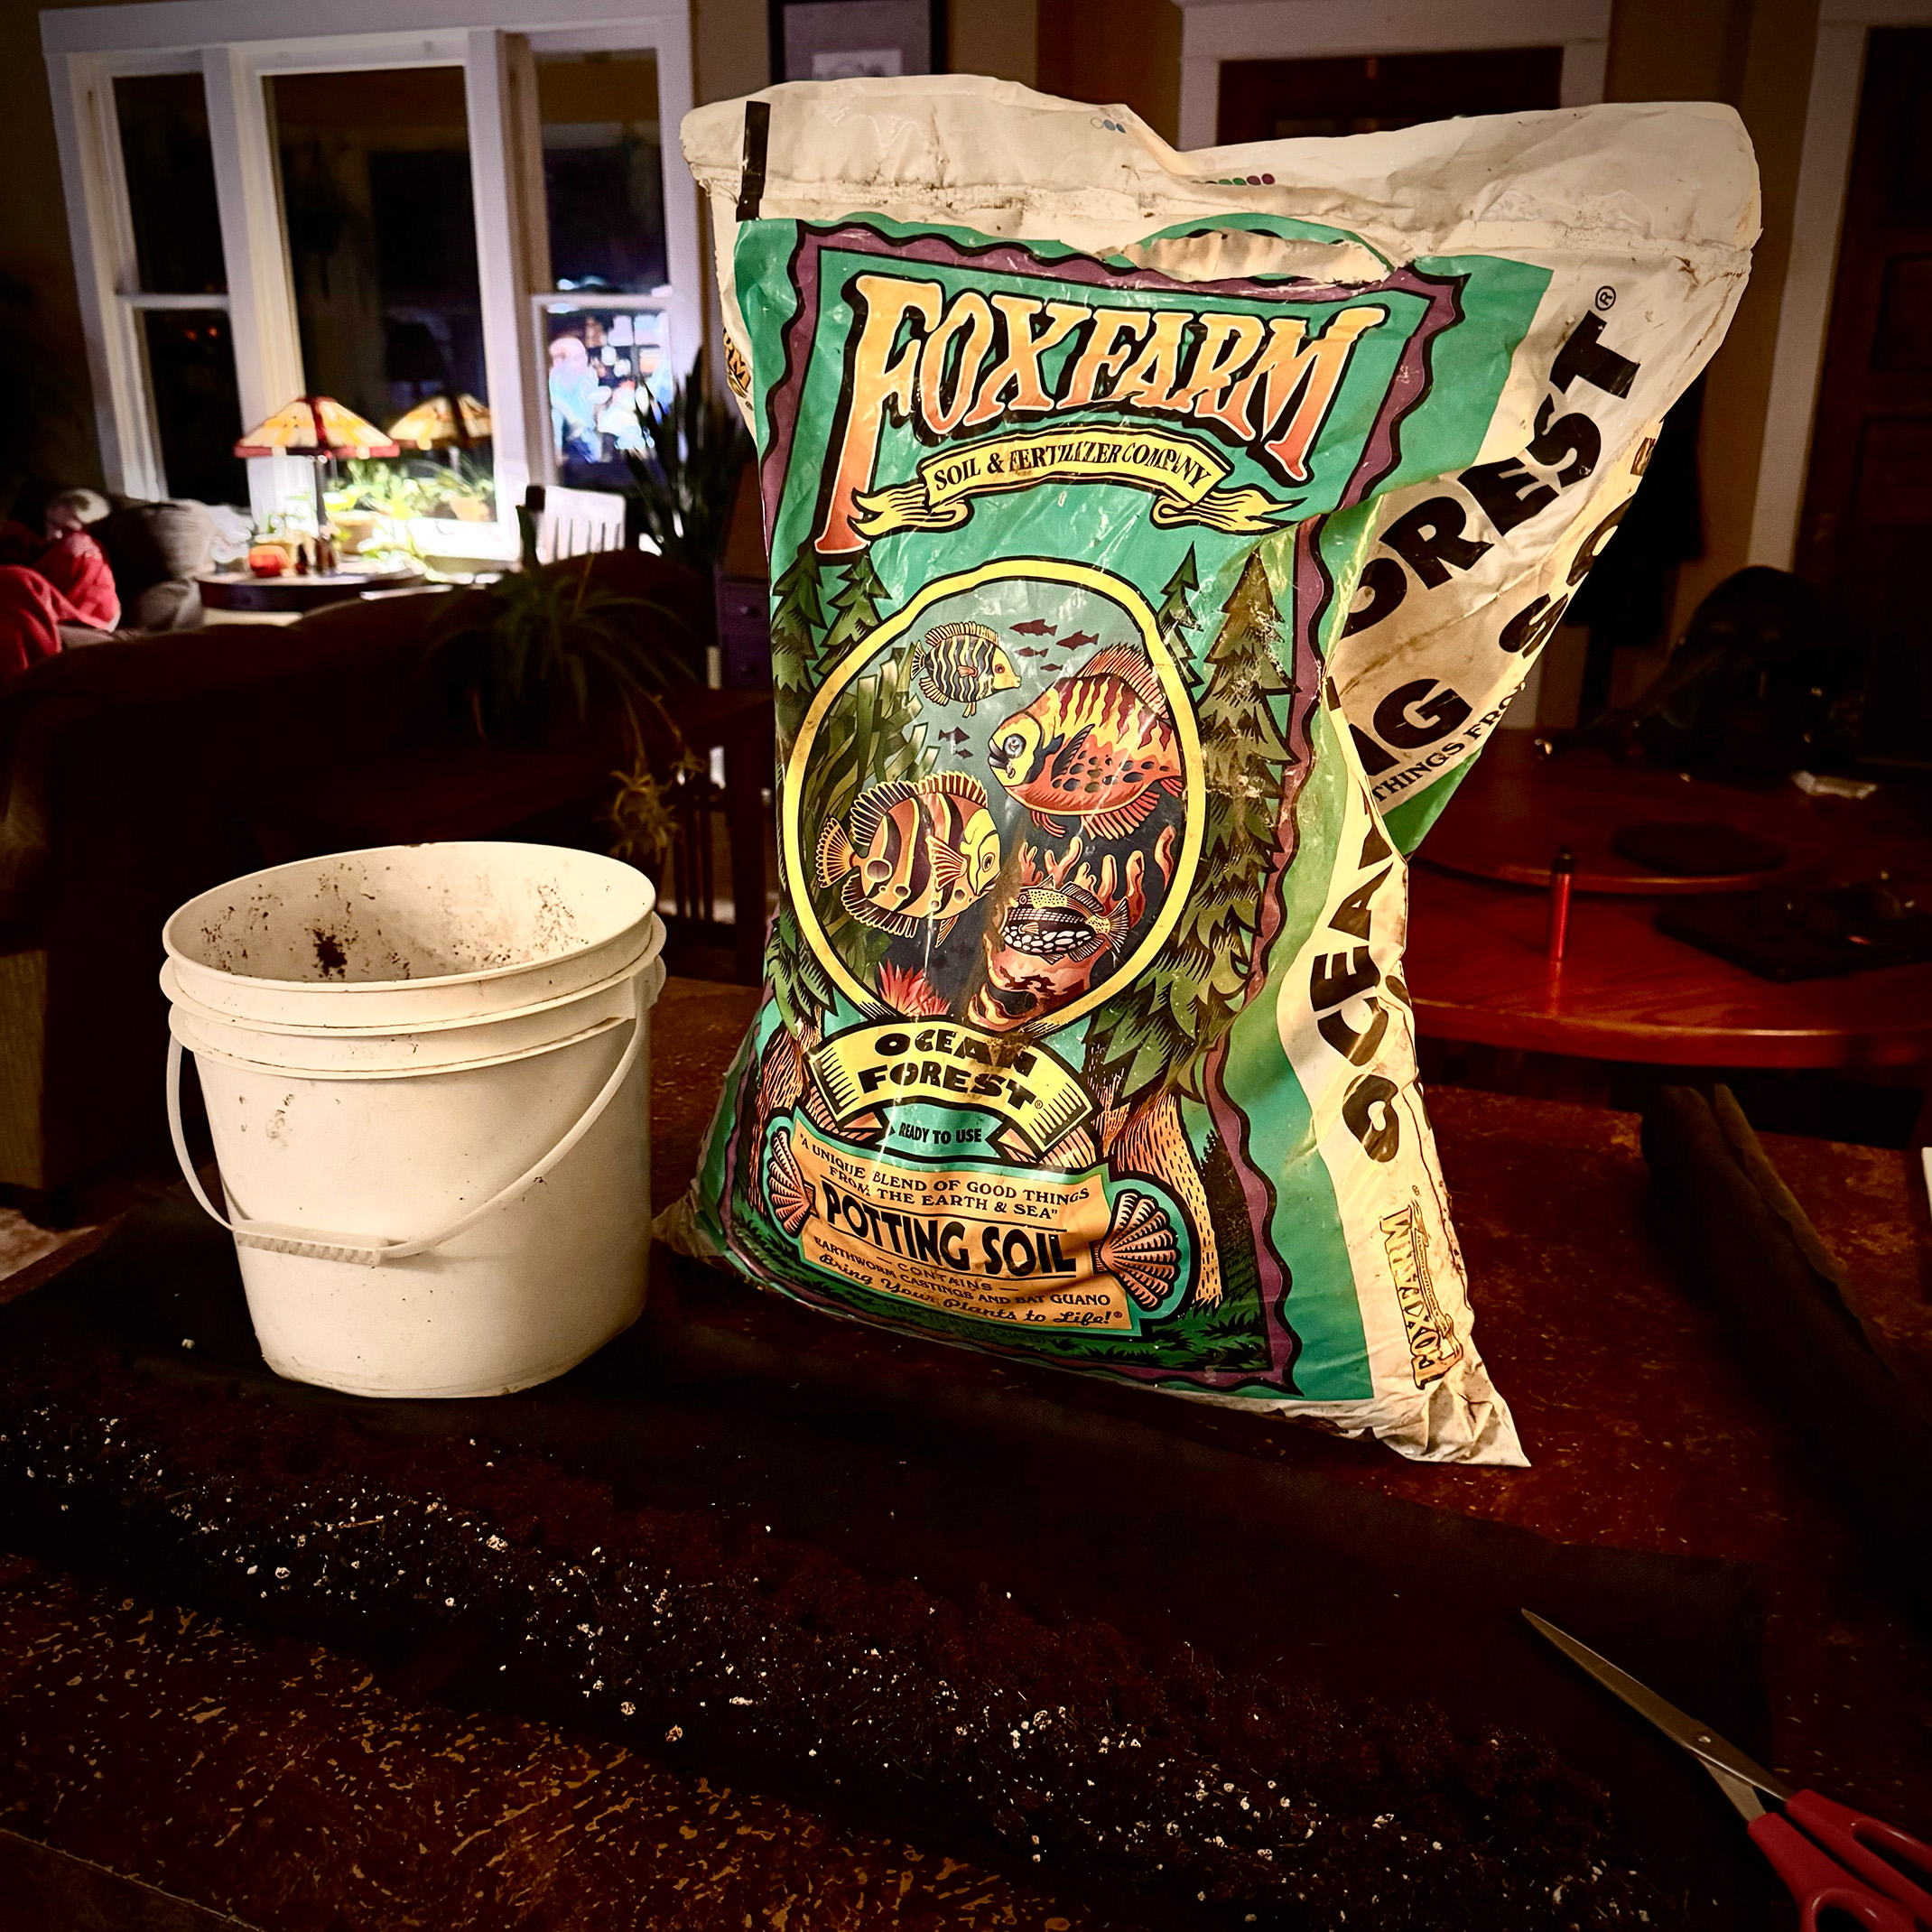
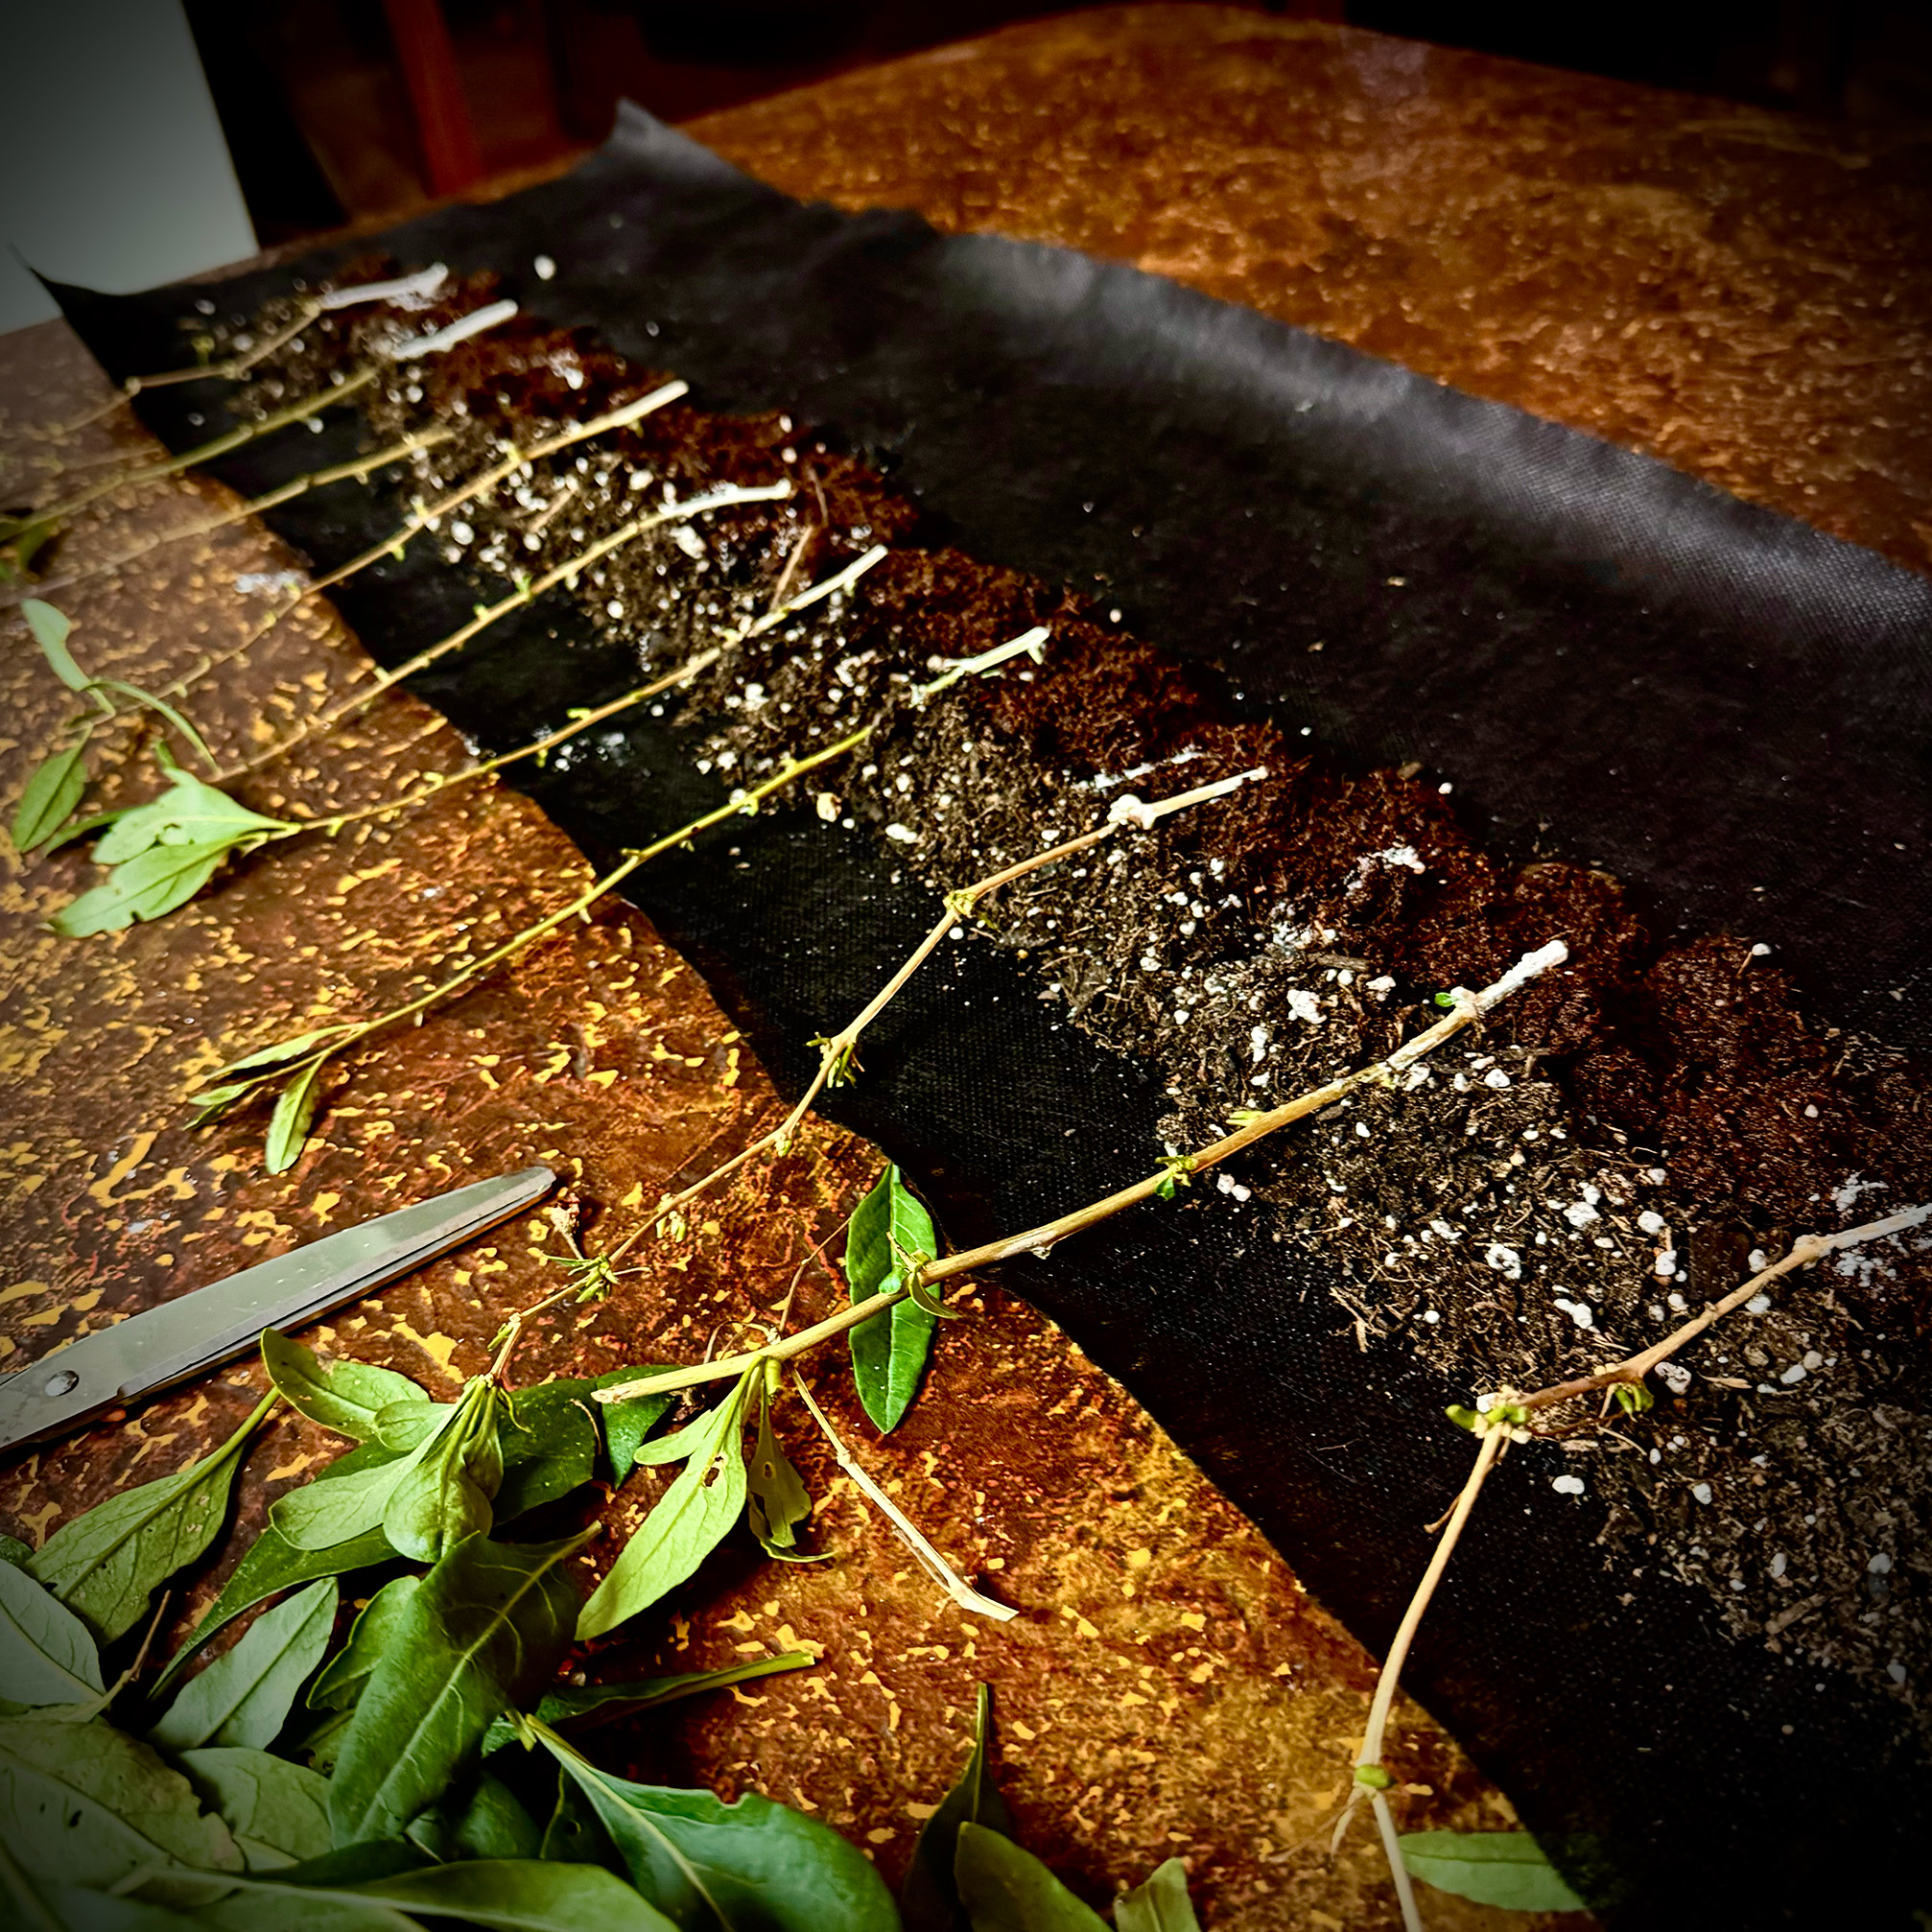
Combine coco coir with organic potting mix — the coir helps retain moisture while keeping good aeration. Spread a 2–3 inch layer evenly along one long edge of the landscape fabric.
One of my favorite nurseries here in Omaha, Nebraska is Indian Creek Nursery. This family-owned small business was my late mother’s go-to for gardening and houseplant supplies. They’re super knowledgeable and friendly!
They suggested I switch from the big box store potting mix to the Fox Farm brand. It has been a total game-changer for my starting plants and for keeping healthy houseplants. I highly recommend the potting soil – and our friends at Indian Creek.
3) Take the Cuttings:
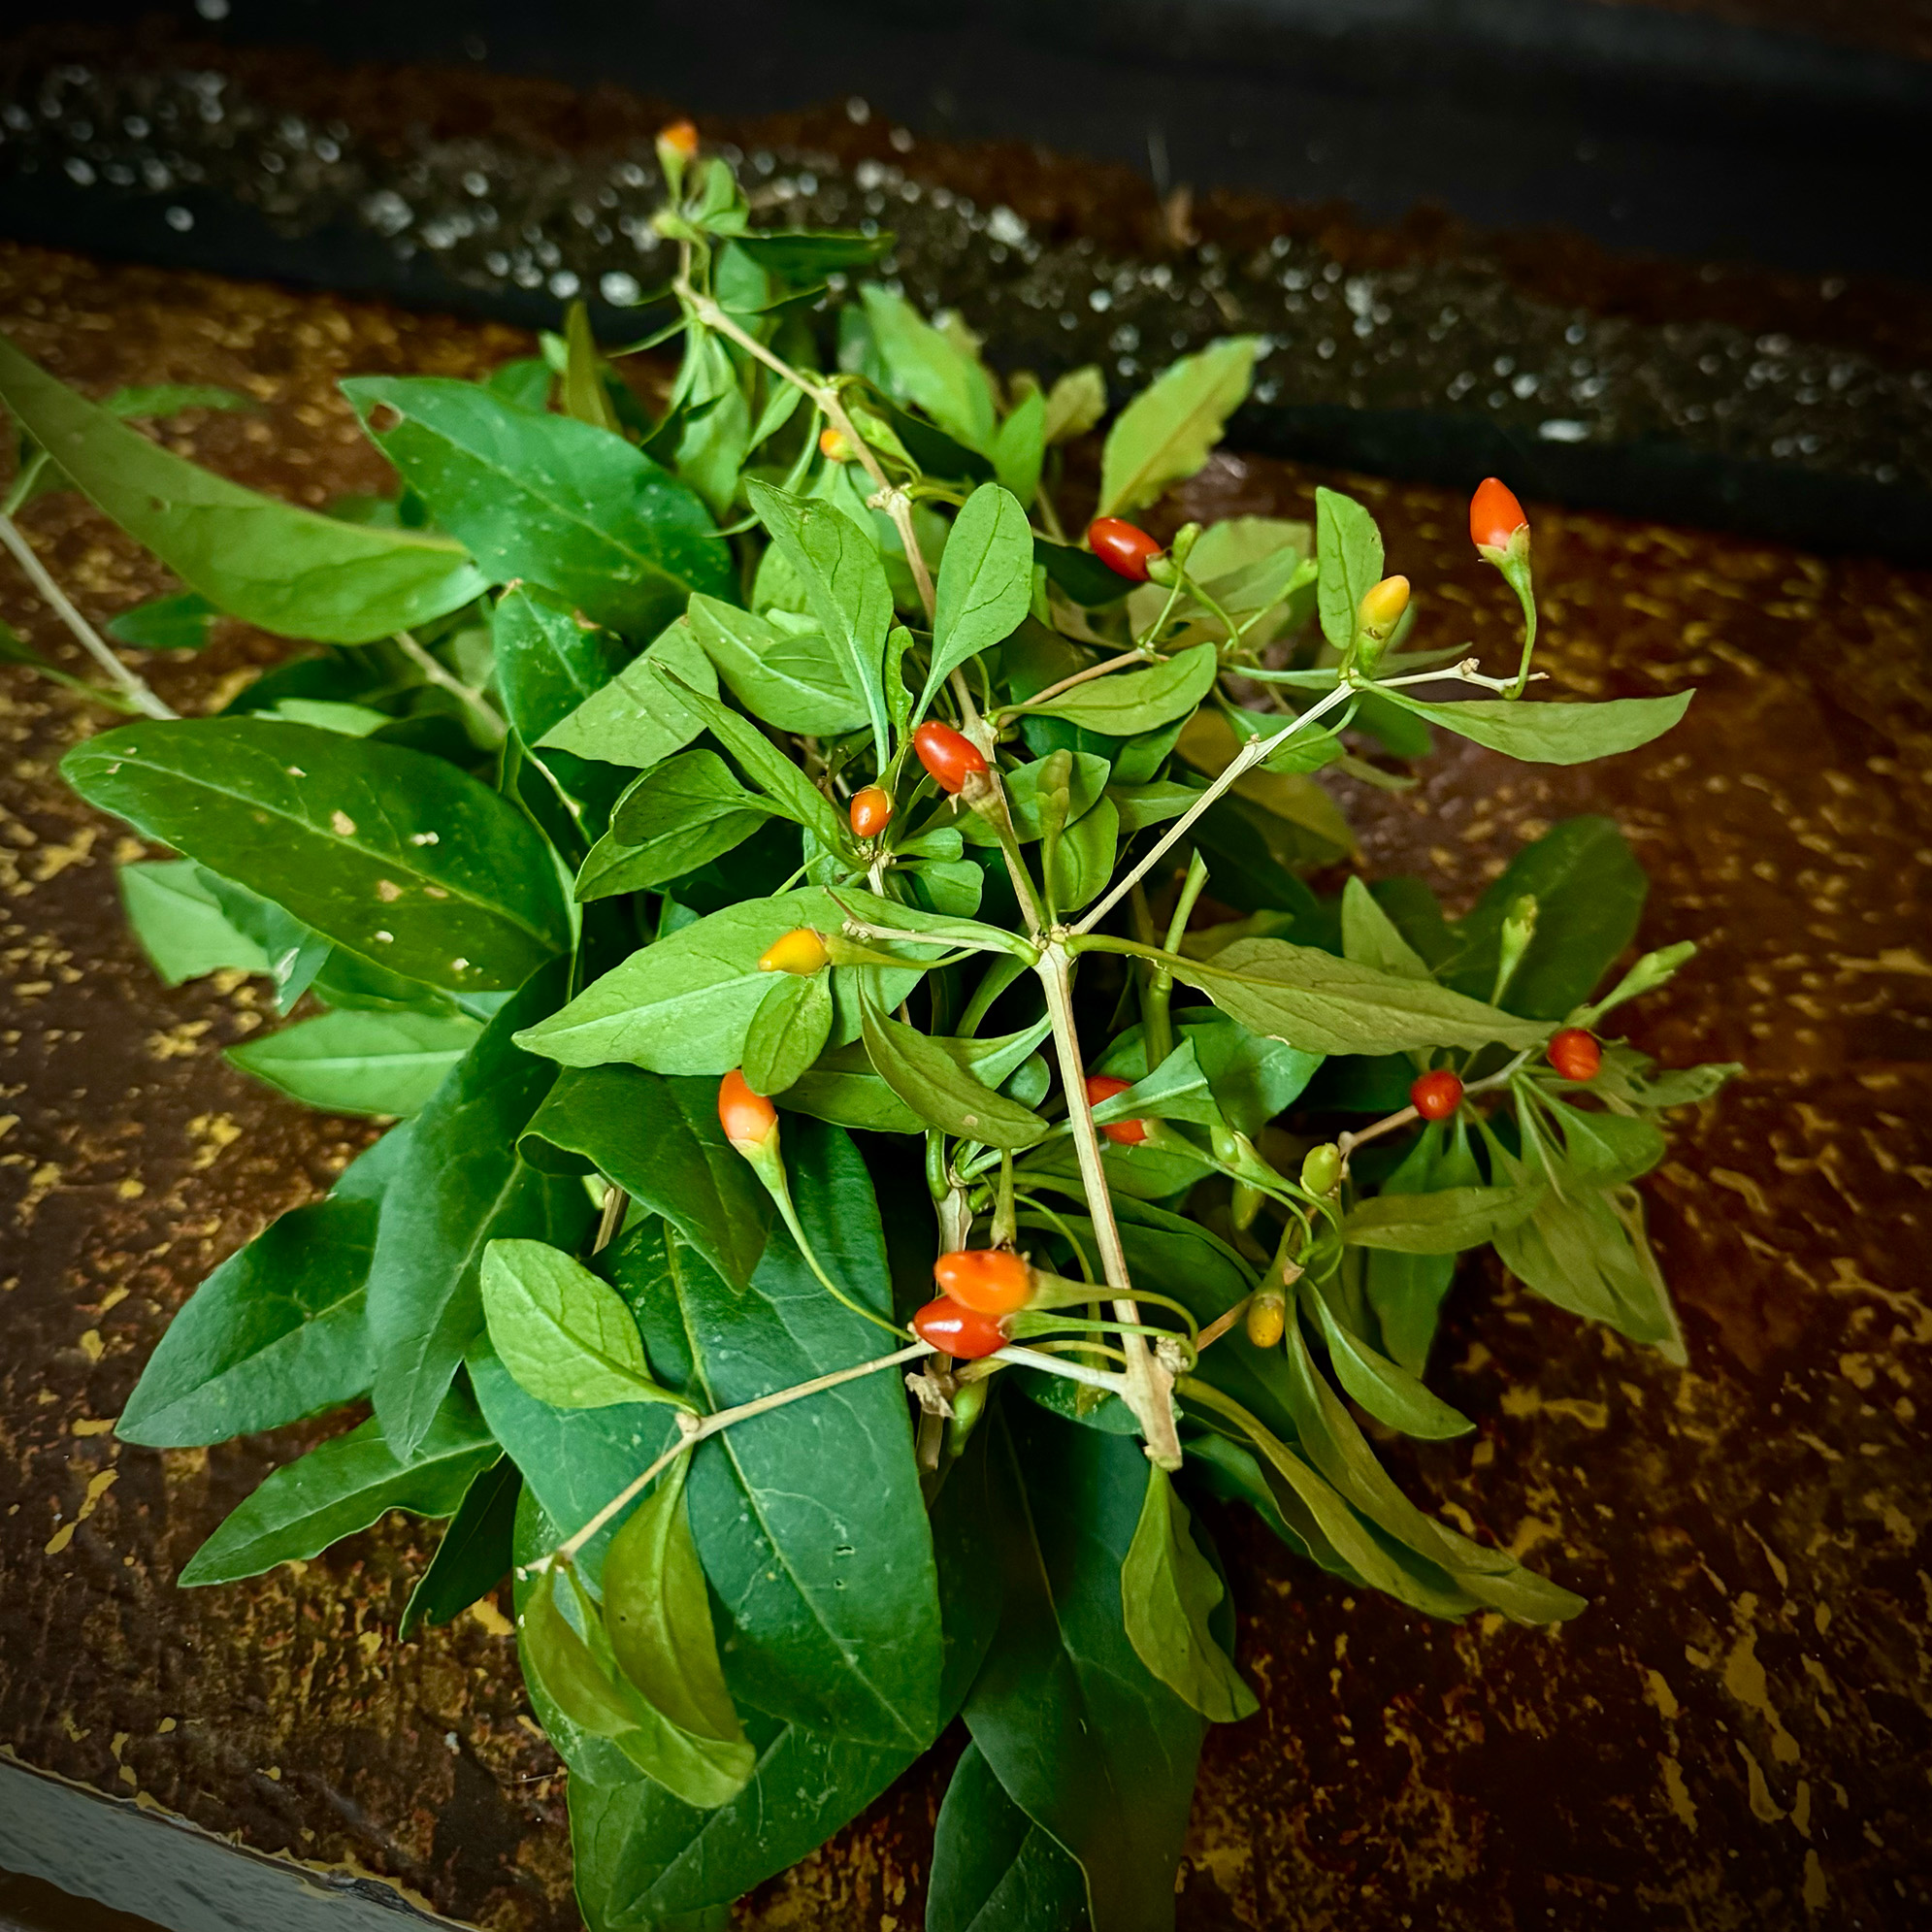
I have four goji berry plants, so I cut three cuttings from each, for a total of 12 cuttings (about 7 inches long, roughly pencil length).
The reason I wanted cuttings from each is so I don’t have 12 more exact clones from one single plant. This is better for pollination as they mature.
I was pleased to find that even at the end of October, my plants are still producing berries. So, I had a tasty treat before preparing them for the next step!
4) Prepare the Cuttings:
Remove all berries and most of the leaves — leave just one or two leaves at the top. This helps the plant send energy to root development instead of fruit production.
5) Apply Rooting Hormone:
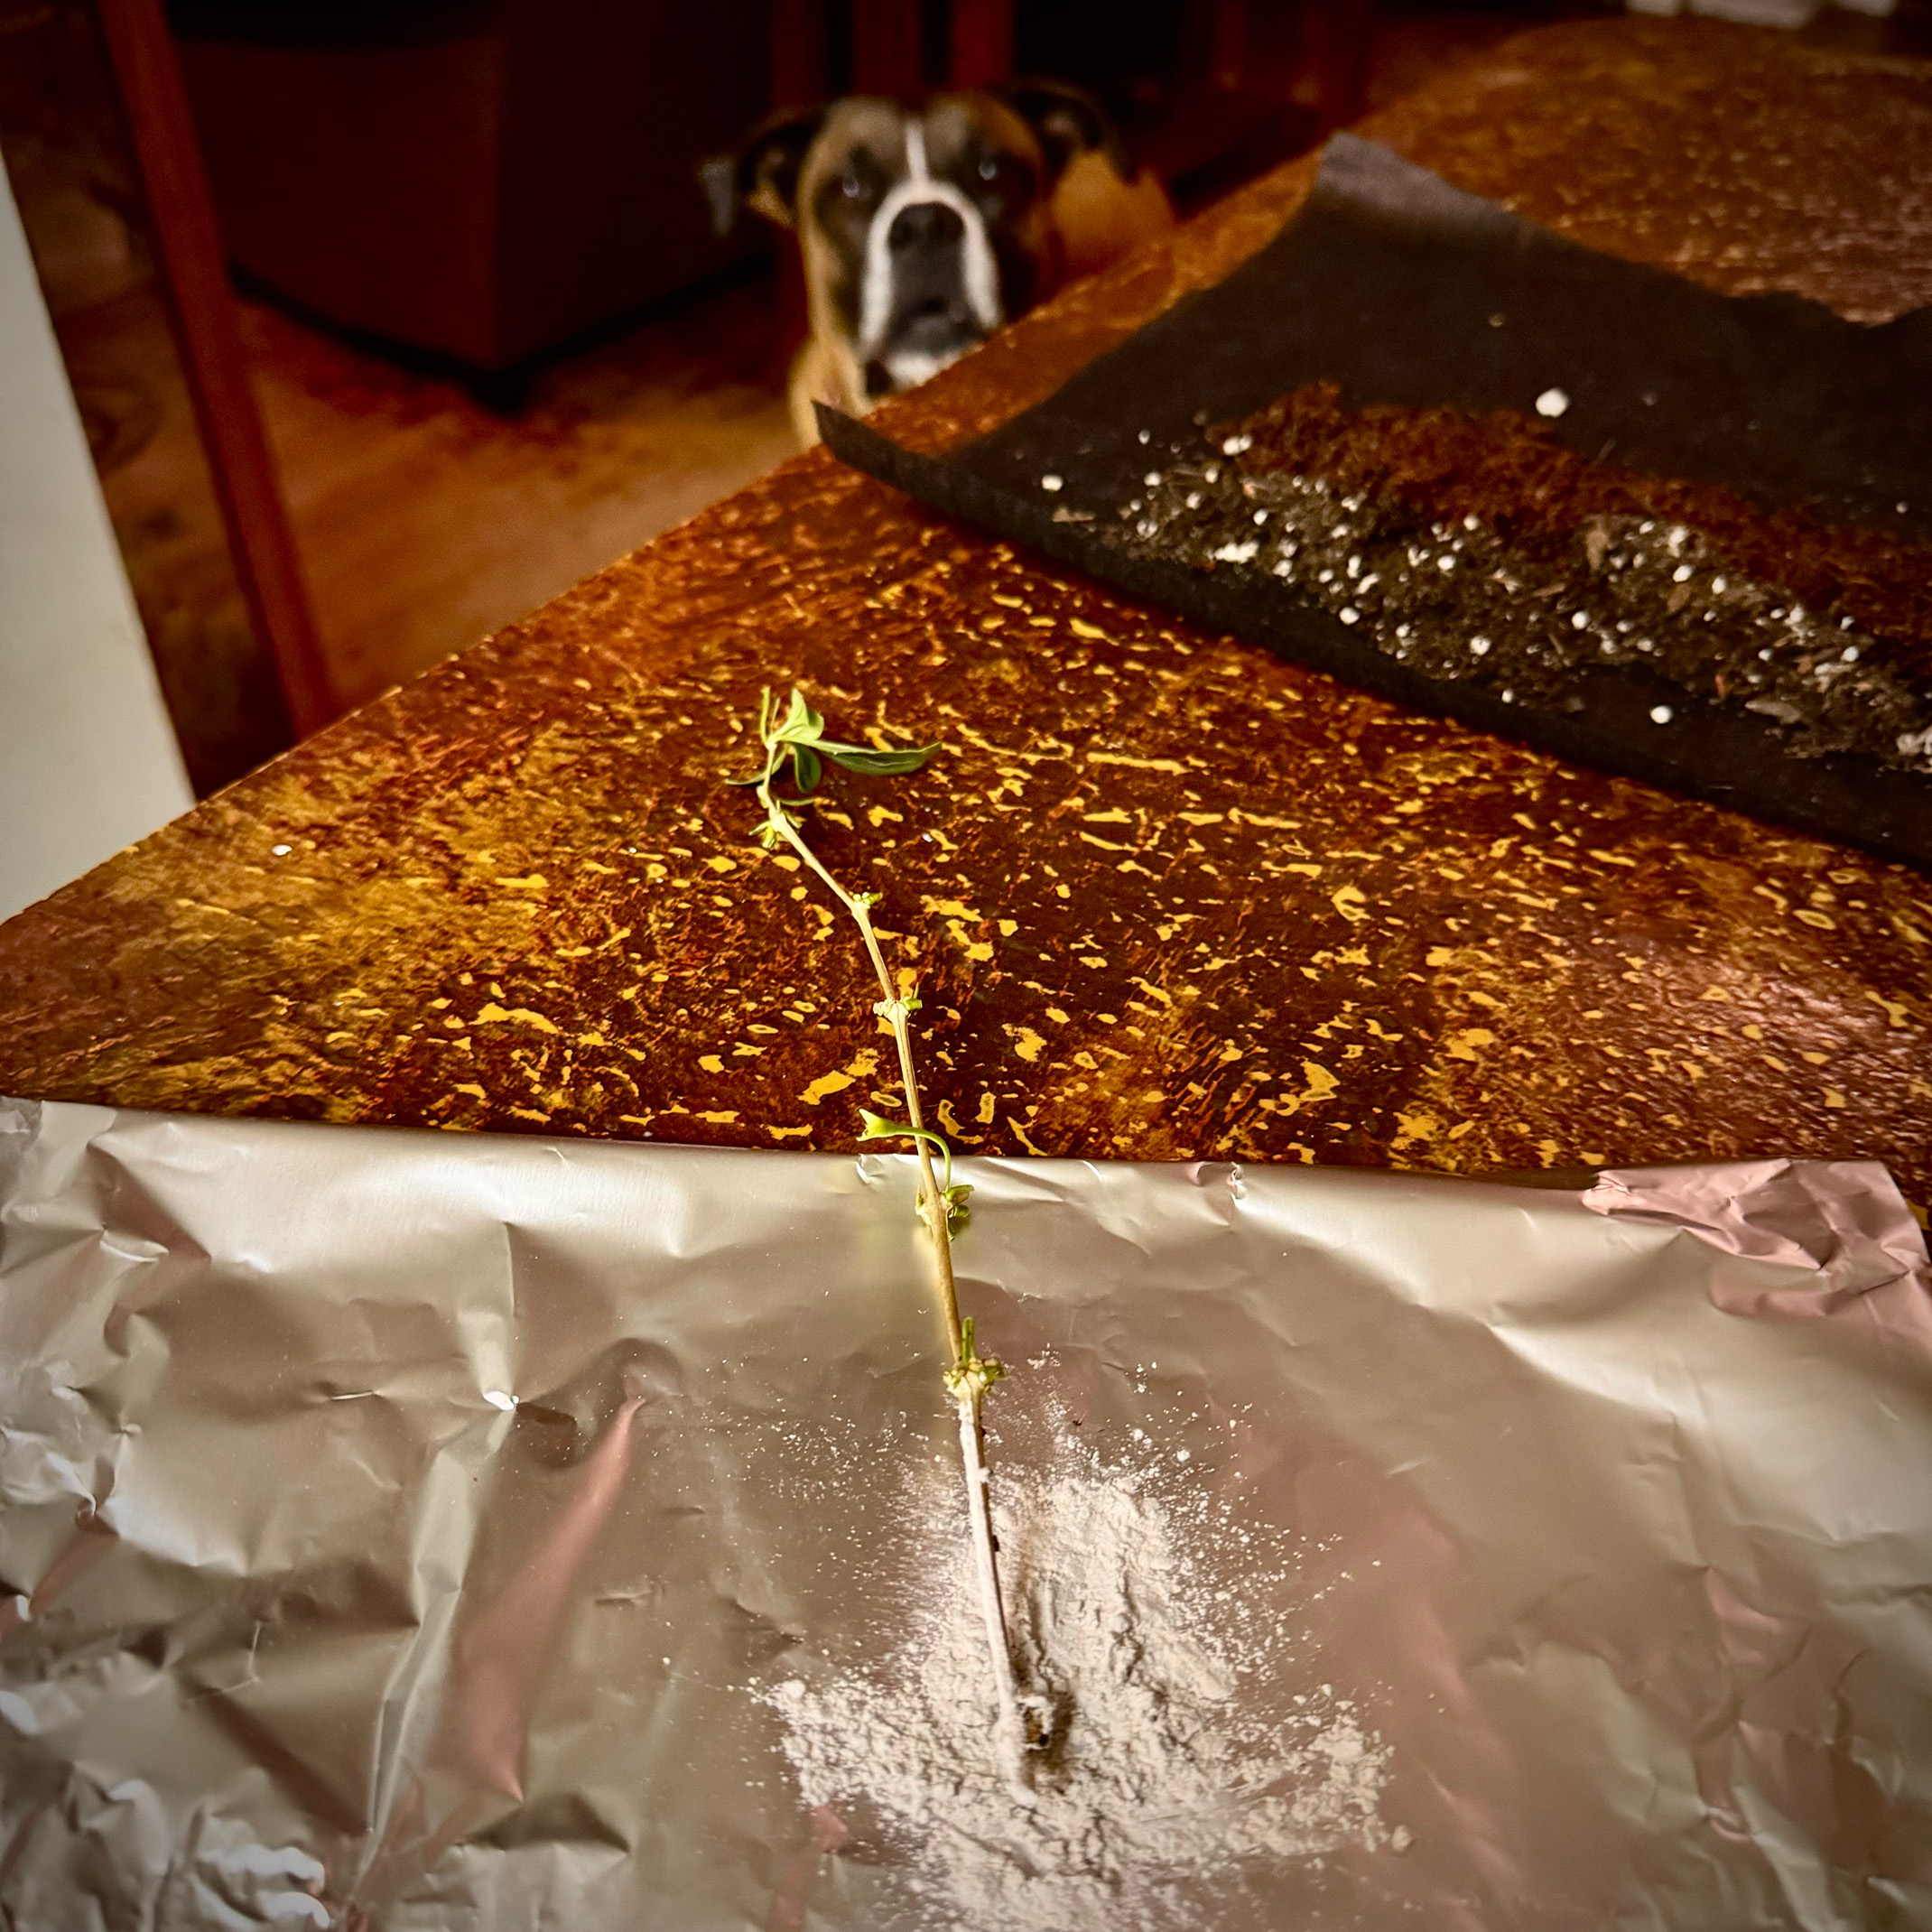
Dip each cutting into Ferti-lome Rooting Hormone (or your preferred brand).
Be careful not to dip directly into the main container — pour a little out onto a plate, paper, or aluminum foil to avoid cross-contamination if any plant has disease.
Note: My dog Louie (pictured) became very interested in the whole propagation process after he saw me eating the goji berries…
6) Assemble the Burrito:
Space the cuttings evenly along the coco coir/potting mix blend. Gently cover the base of the cuttings with a little more mix.
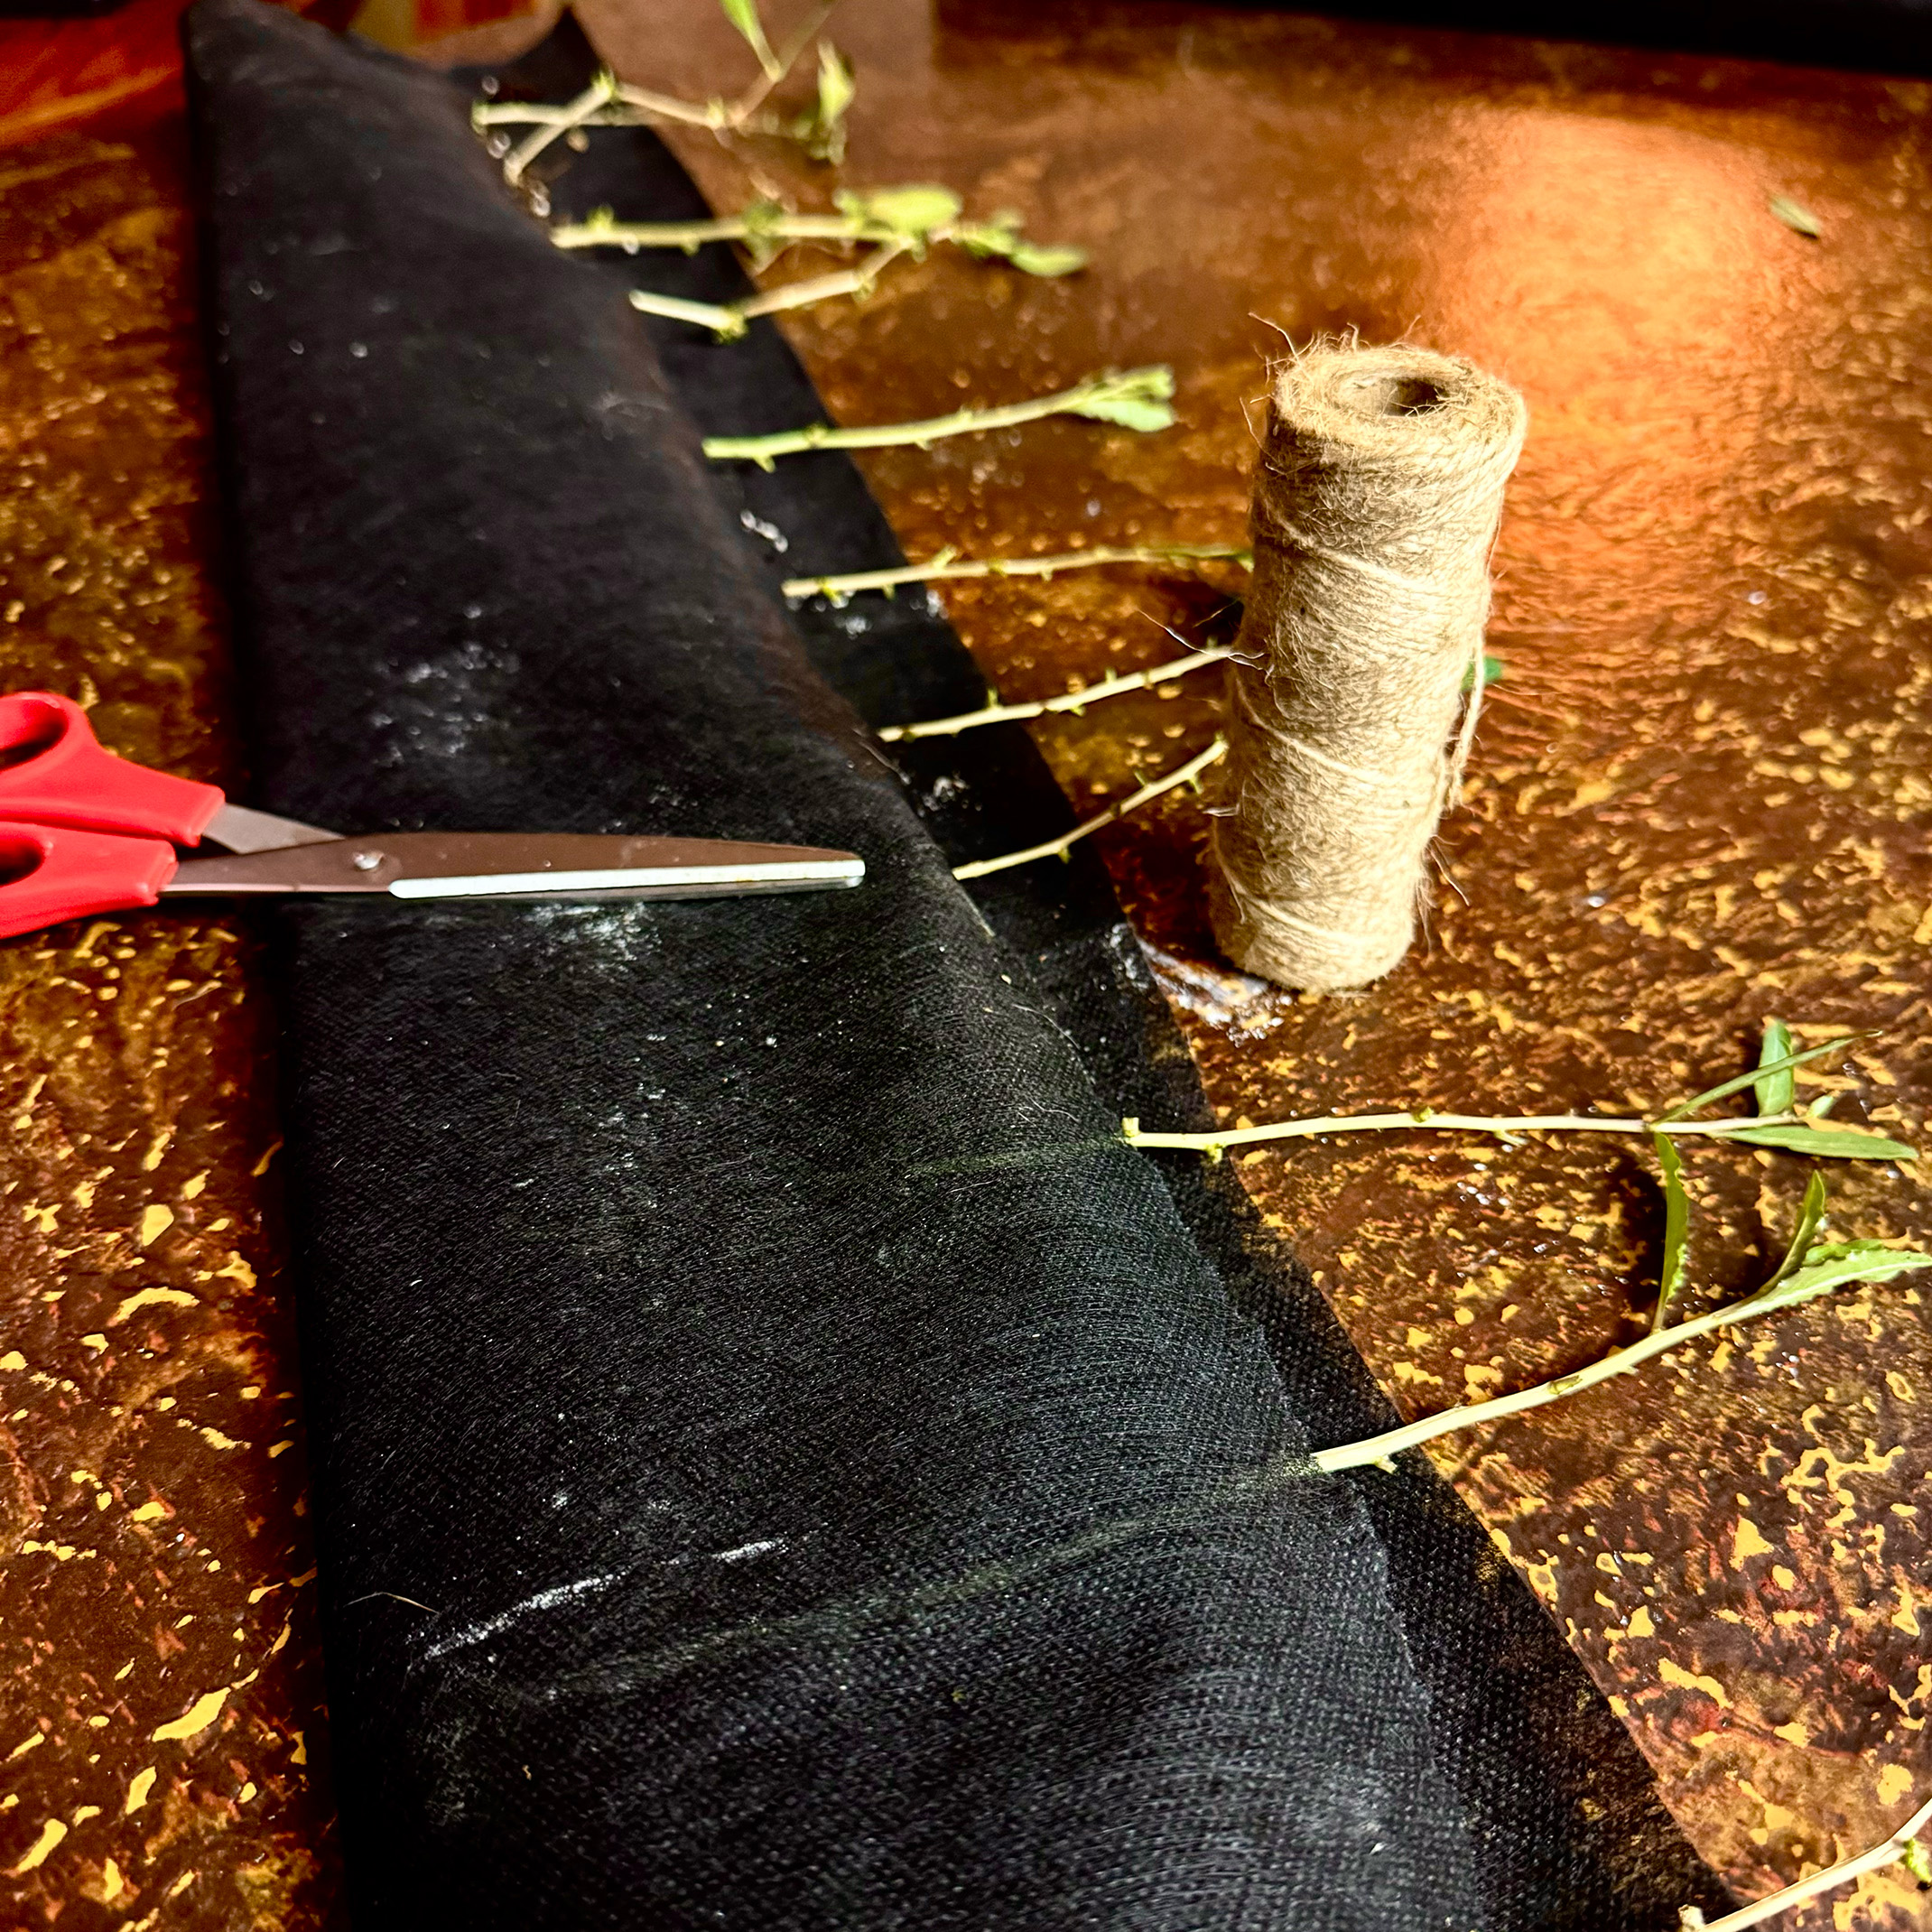
Fold the rest of the fabric over the cuttings and soil.
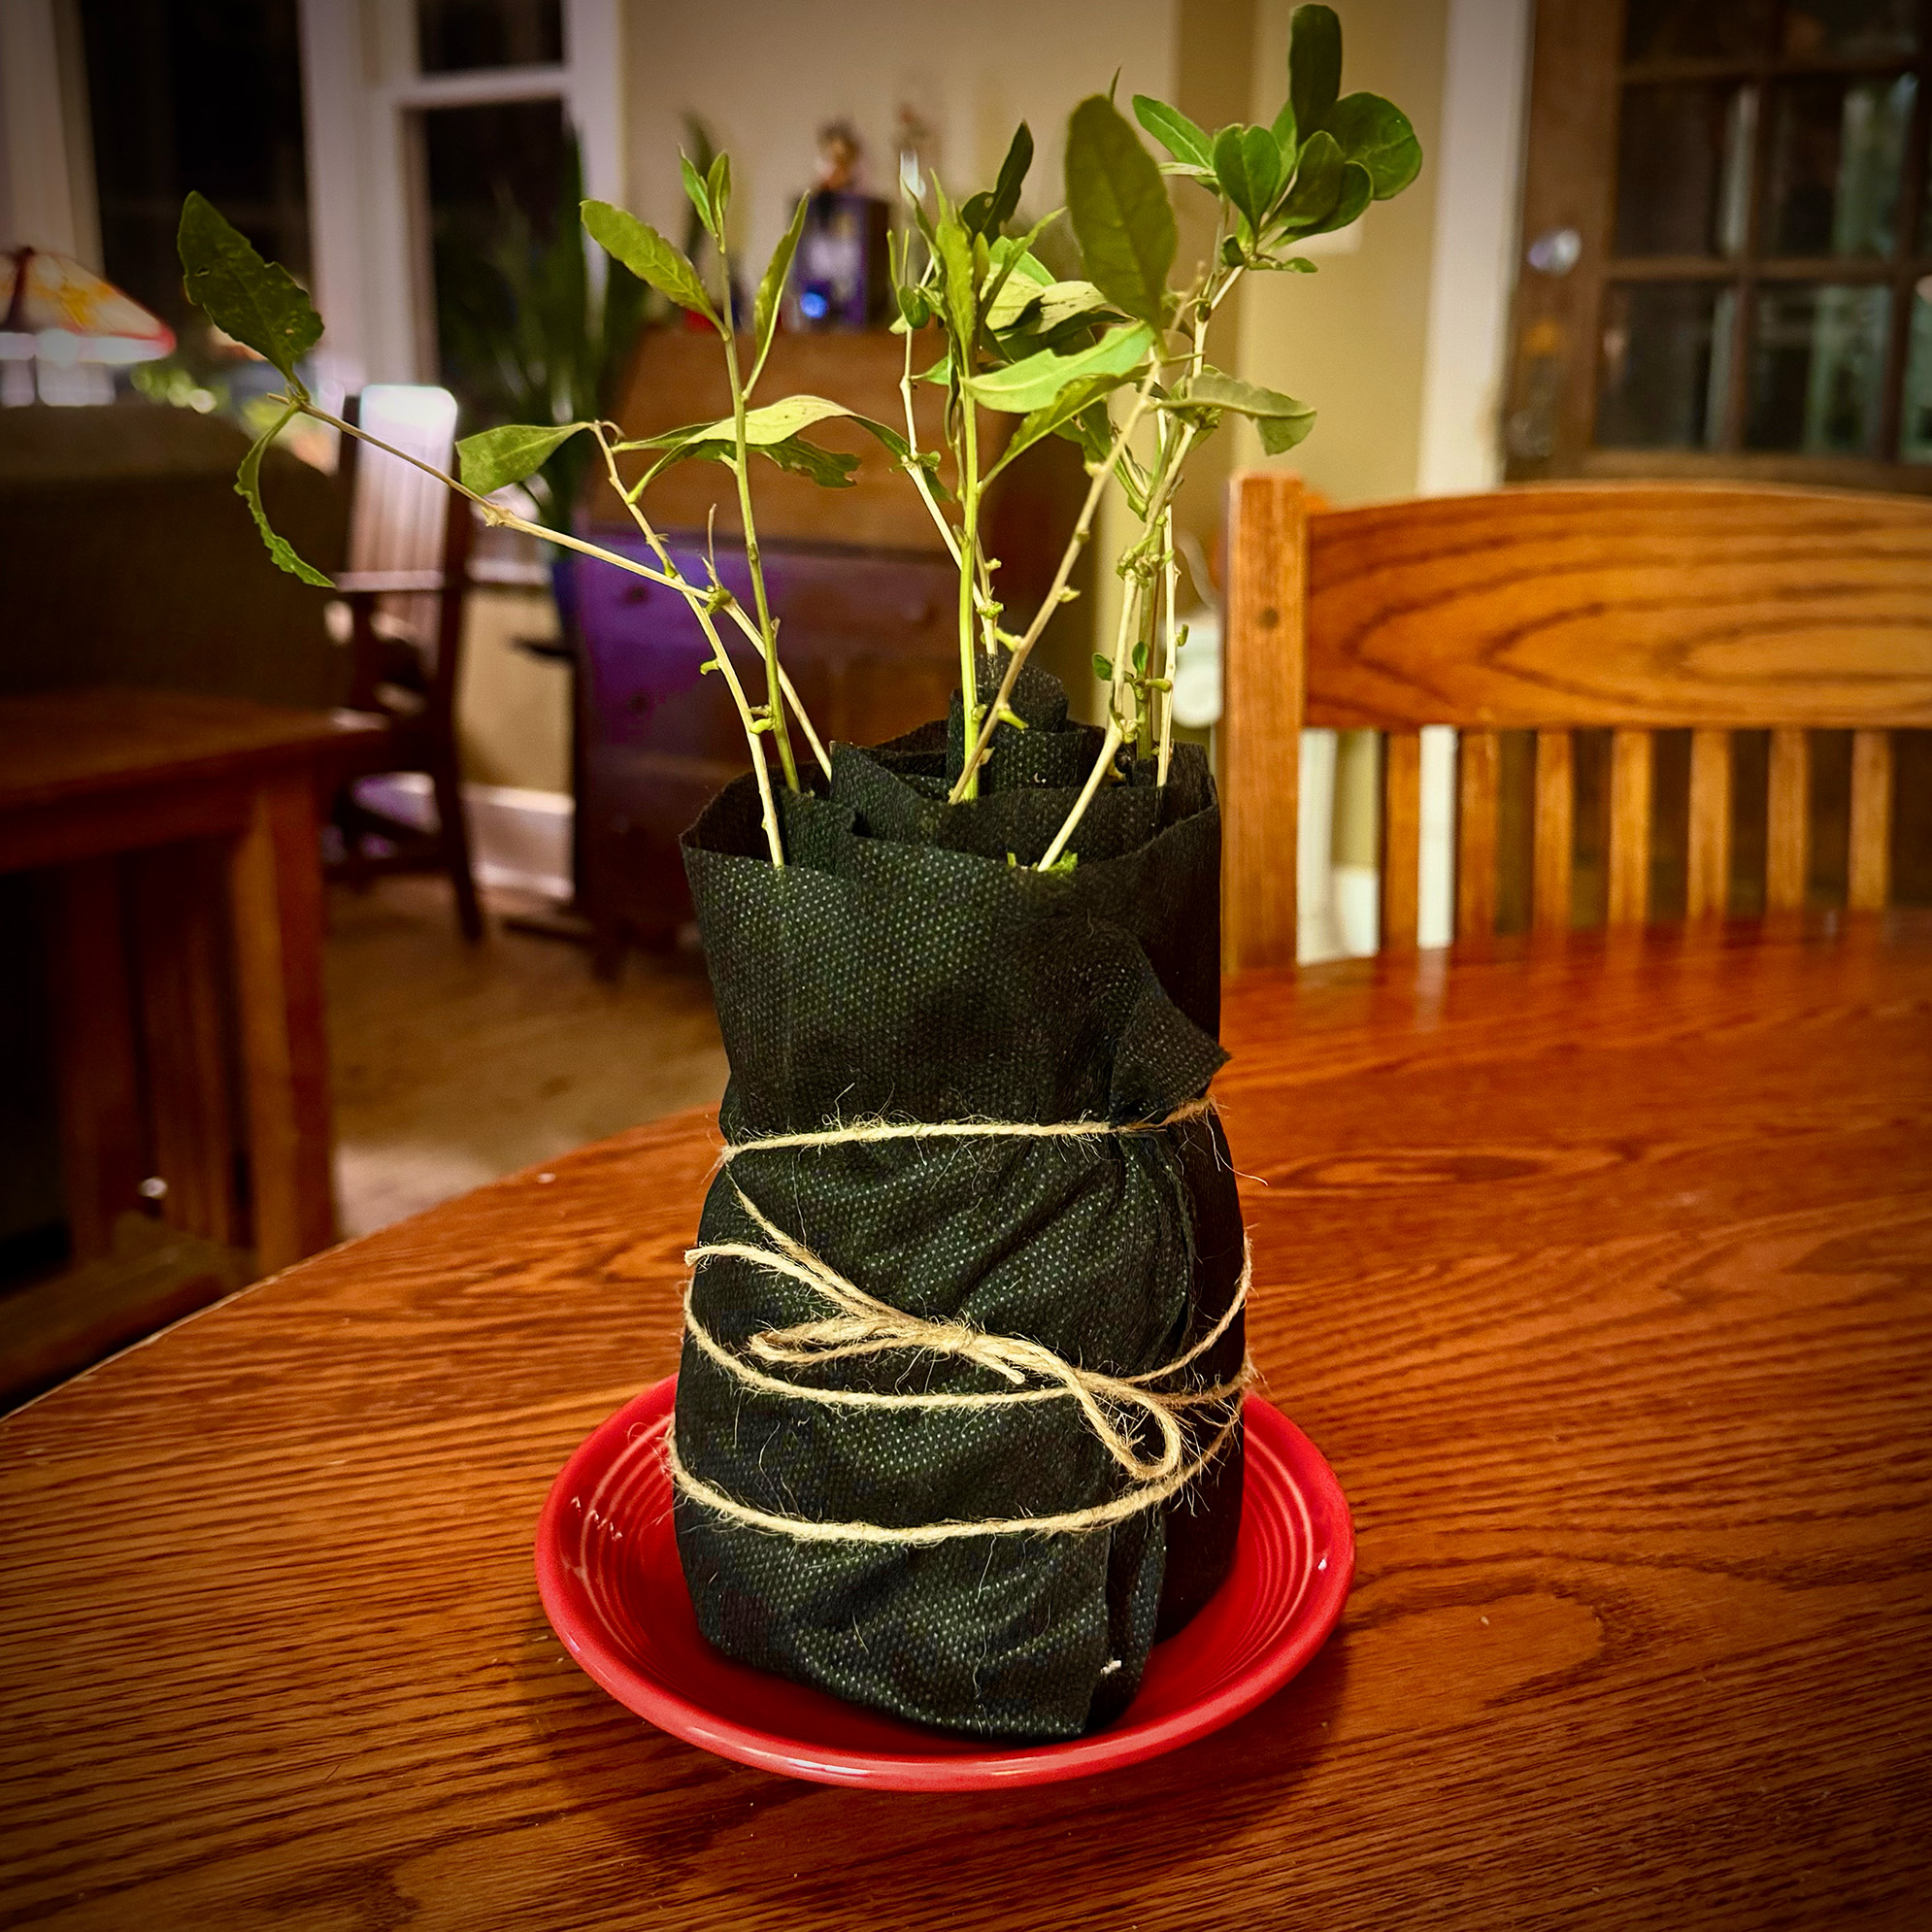
Roll the fabric up tightly like a burrito. Secure it with twine.
7) Set and Wait…
Place your burrito in a bright, indirect-light area that stays cool and consistent in temperature. Leave it for 6–12 weeks, keeping it slightly moist but never soggy.
I like to cut the bottom off a used water jug and put it over the top of my propagation projects to keep moisture from evaporating quickly during dry winter months indoors.
8) Check for Roots
After 6 – 12 weeks, when you see new leaf growth or resistance when you gently tug on the cuttings, roots have likely formed! At that point, carefully unroll and pot them individually. Wait until the outdoor soil is warm enough to plant in the ground.


BLOGGER
Kurt Goetzinger
Goetzinger is the founder of the Benson Community Garden, a deeply involved member of the local agricultural movement, with a focus on practical stewardship and community engagement.
He is in the process of completing a book about how to start and manage community gardens. [Coming Winter 2026]
By day, he owns and runs Omaha Advertising, bringing over 30 years of experience to the table, where he treats clients as partners and pairs clear strategy with straightforward storytelling.
Kurt shares his work and community passions with his wife, Jenny, and their close-knit circle of family and friends.
EMAIL: bensongardens@gmail.com
